
INSTALL YOUR SCREEN PROTECH KIT
INSTRUCTIONS
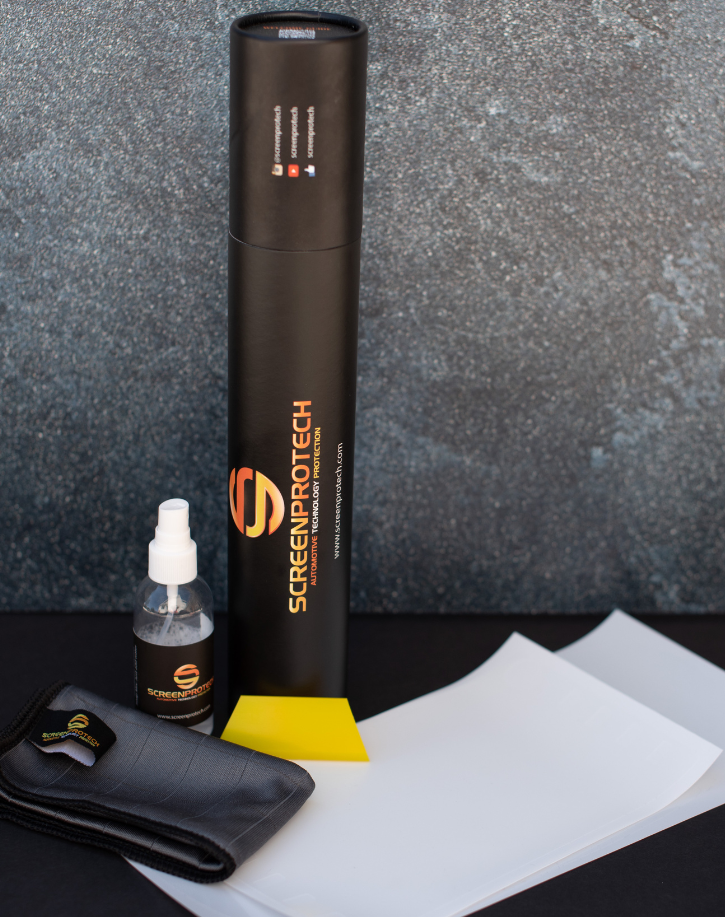
Watch A Video- JUST ADD WATER TO YOUR BOTTLE! We use a wet installation process. Use the provided spray bottle to mist the screens and the film, then use the towel to wipe excess liquid. THIS ALSO REQUIRES A COUPLE DAYS FOR THE FILM TO FULLY CURE.
- Spray your fingers before you remove the film, then spray the film as you remove it from the backing
- Install all the larger pieces first, such as the infotainment and driver display. Then empty the spray bottle and refill with plain, lukewarm water to install small button or dial film.
- Driver Display film will tuck under the bezel in most cases. Infotainment film and all other film should sit 0.5-1mm from the edge.
- In some cases, removing the bezel can lead to an easier installation if the film is not tucking fully.
- Clean screens well! Any dust or particles under the film will remain there. Using our install solution works to clean the screen. You can also use Windex or a warm soapy water on a scratch free cloth.
- Bubbles are normal! After the installation, please give the film 3-10 days to fully cure and set. DO NOT PUNCTURE air bubbles. Anything smaller than a dime WILL dissipate. Up to 30 days in colder climates.
- Use plenty of solution! This prevents air pockets and allows for a smoother installation.
- Wrap the towel around smaller squeegees, or even your finger, to help with smaller pieces.
- Squeegeeing from left to right with the towel can help absorb more liquid.
- The Driver Display film will tuck under the bezel. Use the installation solution to help slide the film under.
- Work slowly! Some screens will be more curved, or larger, and need more patience to lay down.
- ADD WATER TO THE BOTTLE.
- Clean all surfaces thoroughly.
- Mist the screen and the both sides of the film.
- Align film to center of screen; slide to fit equally around all edges. Driver Display film will tuck under bezel. Infotainment film will sit about 0.5-1mm from the edge.
- Squeegee film from center outward. Small bubbles in the film are normal. These will dissipate on their own in a few days.
- Use towel to wipe all excess liquid.
- Leave the film on for a few days for it to fully cure. This will reduce haze and start to heal the bubbles. Bubbles may take more time to fully go away.
1. ADD WATER to the provided spray bottle; mist the surfaces of the car and clean well with the supplied towel.
2. After all dust and particles are clear, spray the first install surface again.
3. Remove the film from the backing; spray your fingers then the back of the film to prevent fingerprints. Spray the back of the film as you remove from backing. Start with the main, larger film pieces, such as the infotainment and driver display.
4. Saturate the front and back of the film with install solution.
5. Align the film to the center of the screen; slide the film until it is equally set from all edges. If the film is not sliding, spray more solution.
- For the Driver Display, the film will tuck behind the bezel. For some vehicles, customers find it easier to just remove the bezel for installation. Please check your vehicle's manual for instructions.
6. Squeegee from the center of the film outward. Work in a clock like motion from the center out to tack down the film. This prevents large amounts of liquid to be trapped in the center of the film.
7. Wrap the towel around the squeegee and give the entire screen another pass from the center outward.
- Small bubbles in the film are normal. These will dissipate on their own in a few days. The film will take a few days to fully cure. Bubbles and haze will go away as the film cures.
8. Use the towel to wipe excess moisture.
9. For smaller pieces, like buttons and dials, empty the spray bottle and refill with plain, lukewarm water to install.
If possible, avoid extreme weather conditions when installing.
Hot Weather:
- The screens need to be cool to the touch when trying to install. Excessive heat causes the solution to dry too quickly, making it harder to align the film properly.
- Run the AC in the vehicle until it is comfortable to sit inside. Be sure to turn off for install. After each piece you can re-cool the car.
- Keep the film and supplies inside until installation to maintain room temperature.
- Leave windows cracked after installation for the first day if possible.
Cold Weather:
- Warm the inside of the vehicle up. 70 degrees is ideal. (Turn the vents off before installing)
- Keep the film inside at room temperature to all more flexibility.
- May take longer to dissipate air pockets. NO POKING BUBBLES.
- Wait 24 after installation, then park in direct sunlight to speed up curing.
- VERY IMPORTANT: Heat the vehicle up to make it more pliable. This is imperative to remove the film cleanly. The heat releases the adhesive from the screen.
- Running the heater in the vehicle for 10-15 minutes should warm the film enough or leave the vehicle in direct sunlight during warmer months or hotter climates.
2. Find an exposed edge and gently pick at the edge or rub the edge with a microfiber towel until it peels up.
3. For tucked film, once it is heated, use a fingernail or soft plastic to carefully tear the film. If the film is warm, you will be able to tear it with gentle effort to remove.